
Accessibility
33 Adding title and heading tags to a Word document
One of the most important things you can do to make your article galleys accessible is to tag the title and headings in your article galley. This structures your document so that it can be parsed and browsed by readers using assistive technologies such as screen readers.
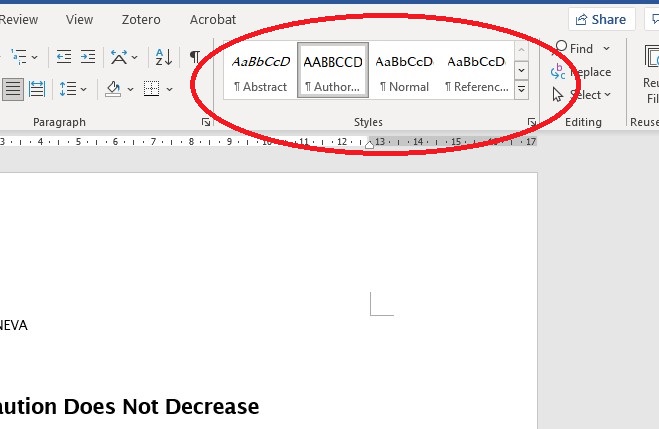
In Word, you add these title and heading tags by using styles. The easiest way to access styles is through the Styles pane in the Home toolbar (Figure 1).
Styles have two functions:
- they dictate the design and layout of the text, and
- they apply semantic tags that structure the document.
The second function is the most important one for accessibility purposes.
If you have already chosen the font and paragraph layout for your headings you haven’t applied the styles, you can match the style to your design by following the steps described in Updating styles to match formatted text, below.
Applying styles to text
To apply styles to your text, select the relevant text and then click the appropriate style in the Styles pane. Alternatively, you can click on a style and then start typing: the text you type will use that style.
In more recent versions of Word, a button to access styles may appear automatically alongside other formatting options above highlighted text.
See also: Apply styles from the Microsoft Word Help & Training site.
Heading structure
Your title and heading styles must be applied in a hierarchical and logical way. The title of the article must use the Title style; first-level headings must use the Heading 1 style; second-level headings must use the Heading 2 style, etc. You must not skip heading levels for the sake of design.
Updating styles to match formatted text
If you have already formatted your text before applying the styles, you can update the appearance of the title and heading styles to match your formatting.
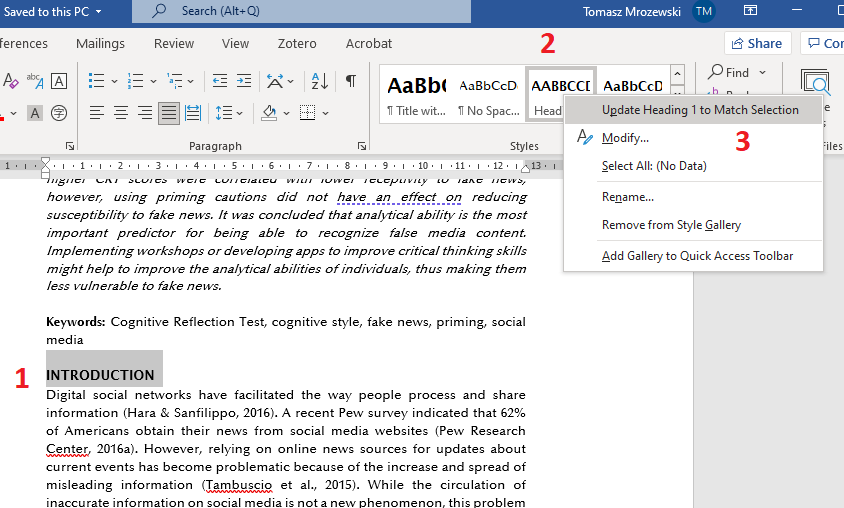
To update styles based on your document formatting:
- Select the text of your title or a heading (number 1 in Figure 2)
- Right-click the appropriate style in the Styles pane (number 2 in Figure 2)
- Click “Update [style] to Match Selection” (number 3 in Figure 2)
Once you have updated your styles, you can then select all of the title and heading text in your document and apply the styles where required (see Applying styles to text, above).
See also: Customize or create new styles from the Microsoft Office Support site.
