This chapter provides a brief overview of what a typical Scalar project can look like, including basic navigation and description of the way Scalar works with media. More in-depth tutorials on adding and displaying content, creating structure, and adjusting the layout of a project will be discussed in later chapters.
Navigation
A navigation drop down menu contains links to sections, such as pages, of a project. Additional sections can be nested within sections, as in the example below were “Building Construction at York” is nested under the “Introduction” section.
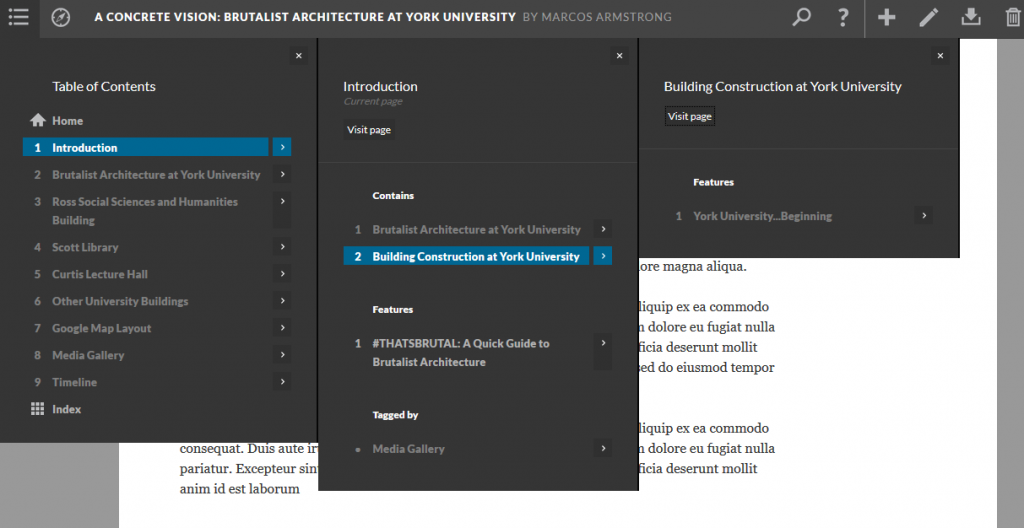
You can navigate to pages within a project using the “hamburger” menu, top left.
![]()
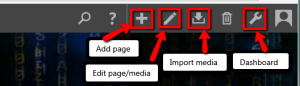
Tools along the top right of the Scalar interface provide a number of functions for creating and editing pages, media and other content items in a project.

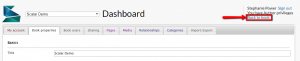
In Scalar there are two main pages: Dashboard and Back to book. The Dashboard page is accessed by selecting the Options button (wrench icon). The Dashboard is the location where you can make edits to your project’s content, pages, and settings.
To return to the book editing page from the Dashboard page, select Back to book.
Organizing and Displaying Media
Scalar can host a variety of media types, including images (JPG, DZI, GIF, etc.) video (MP4, FLV), and audio (MP3, WAV). There are a number of ways to organize media on a page. Different media objects, including images, video, and audio files, can be referenced by links within text, located next to text, or inline with text. Media is added via the icons highlighted below. For a more in-depth guide on inserting media on a page, click here.
Adding media as a link allows you to add the media object as a reference to the text where it is discussed. For example in the project below, the image Scott Library – interior is referenced by a line in the text. Adding media as a link allows the placement and size to remain flexible, dependent in part on the page’s default view. Alternately, adding media inline allows you to place the media object in a specific place, similar to inserting an image into a Word document.
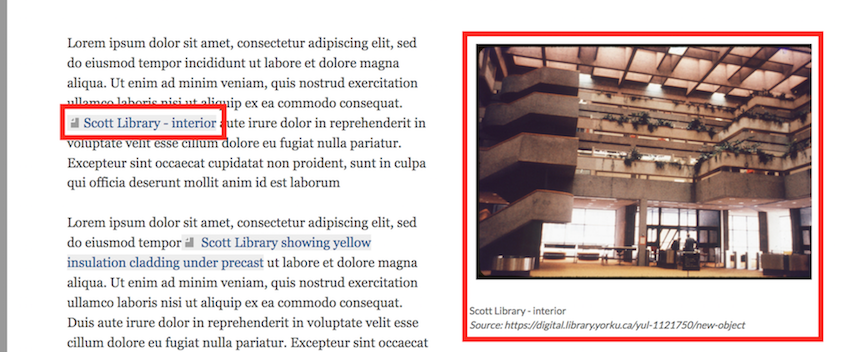
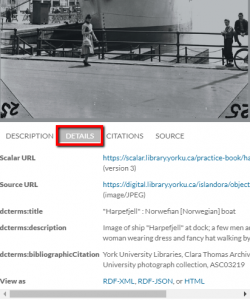
Media objects display description. Clicking on the different tabs below the media object displays different information about it, such as associated metadata (under “details”), citations of the object within the project, and a direct link to the source file.
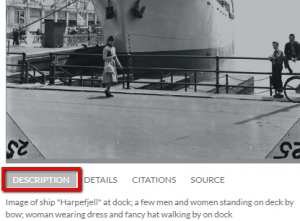
Scalar will pull as much information about the media object as possible from the source, but additional details can be assigned to a media object as well. These details are displayed when the media is selected. Hovering over the image displays the description, details, citations, and source. Selecting details expands captions to include metadata (information about the media). A more in-depth guide on adding details to a media object will be discussed in Section Two: Adding Content.
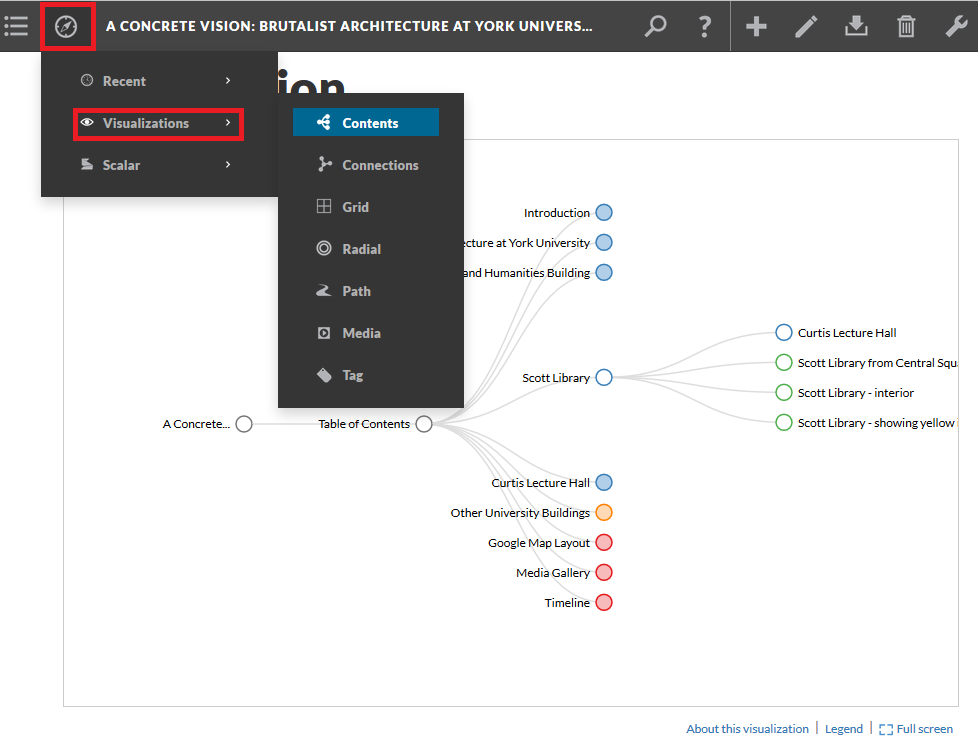
Visualizations
The compass provides visualizations of how the author has tagged and created paths among content (media objects, pages), throughout the project. Visualizations function similar to site maps, however visualizations offer different ways to view a project, and relationships among content within a project. Scalar emphasizes ways for both authors and readers to structure a project – to view content.