In this chapter, we will discuss how to edit the global aspects of your book from the Dashboard. As mentioned during the tour, the Dashboard is the location from which you can control different aspects of your book from who can add content, to creating and sharing your first project.
My Account: Creating a Book
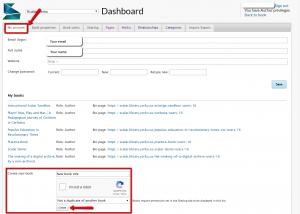
To begin working with Scalar, you will first need to create a book where you can add all your content including pages, media, and relationships. To create a book, first navigate to your Dashboard by clicking the wrench icon.

The My Account tab lets you edit information associated with your account. Importantly, the My Account tab is where you create new projects; in Scalar projects are called books. To do this, scroll to down to Create new book. Enter the project title (the title can always be changed later). If you have multiple books, you will see them displayed here.
Book Properties
Book Properties contains various settings for the book.
In Basics, add a Subtitle and Description for the project. The URI segment of the project’s web address can be edited. Table of Contents can be created once pages have been added to the book. In Style, ensure that the latest version, (Scalar 2) is selected. The rest of the Style settings can be revisited later on.
Custom CSS or Javascript enable customization of global style aspects of a project, and page level aspects of a project can be modified.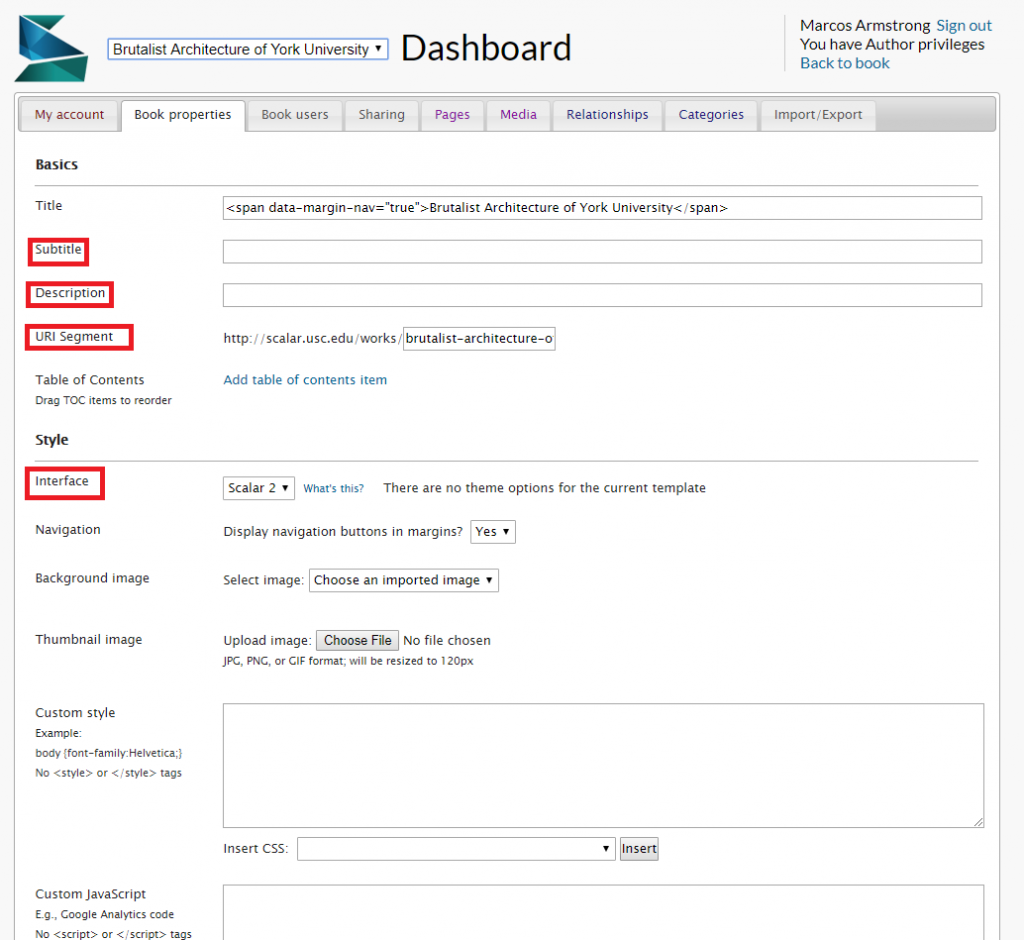
Book Users
Select Book Users tab to search for and add users. Depending on the permissions you assign them, book users can engage with the project in different ways. There are four different types of users:
- Authors have access to all editing features. Authors are primary administrators that can author, comment, review, or read the publication.
- Reviewers and Commenters can edit and comment on material in the project. Authors are notified of comments and edits.
- Readers only have access to the project. This is useful while the project is in an unpublished, private mode
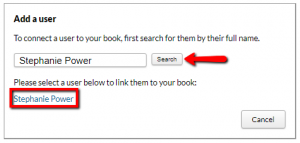
To add a new user to a project, first navigate to the Book Users tab from the Dashboard. At the bottom left of the page, select the Add a user button. Clicking the button activates a pop-up that allows you to search for the person you want to add to your book. Only users who have already created a Scalar account can be added to a project, so make sure anyone you want to collaborate with creates an account of their own beforehand.
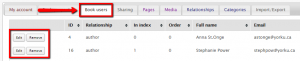

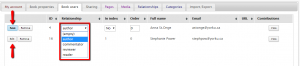
To change a user’s access, click on the Edit button next to her/his name. Clicking Edit will activate a drop-down menu under the Relationship heading. Select from the menu which access type of access you would like the user to have, then click save to close the menu.
Sharing
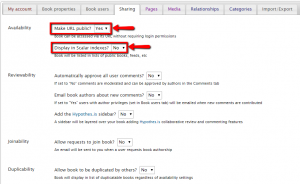
The Sharing tab contains options to make the book publicly visible, and enable comments. These options are defaulted to ‘no’ until you are ready to share the book. Ensure that Make URL public is set to ‘no’ until the project is ready to be viewed and searched publicly.
Display in Scalar indexes makes the project more viewable by increasing its discoverability on Google.
Additional options exist for reviewing and inviting other users to join the book. These features provide different ways to for a number of users to collaborate on a project with feedback and comments, such as Hyptothes.is, a tool for annotating web content.